Creating an Android Project
This is the third post in my Start to Finish series. Last time I talked about source control with Git.
We’ve talked about basic tools, and about source control, so now we’re ready to get into actually creating an Android app.
In this part of the series, we’re going to create a new project using Android Studio. Android Studio is Google’s Integrated Development Environment (IDE) that we will use to create our Android app. While it’s still in early preview release status, it will be replacing Eclipse as the main Android development IDE, so we’ll go ahead and just start there.
Let’s Get Started⌗
Assuming you have already installed Android Studio, start it up and you will be greeted by a welcome screen, inviting you to create or import a project.
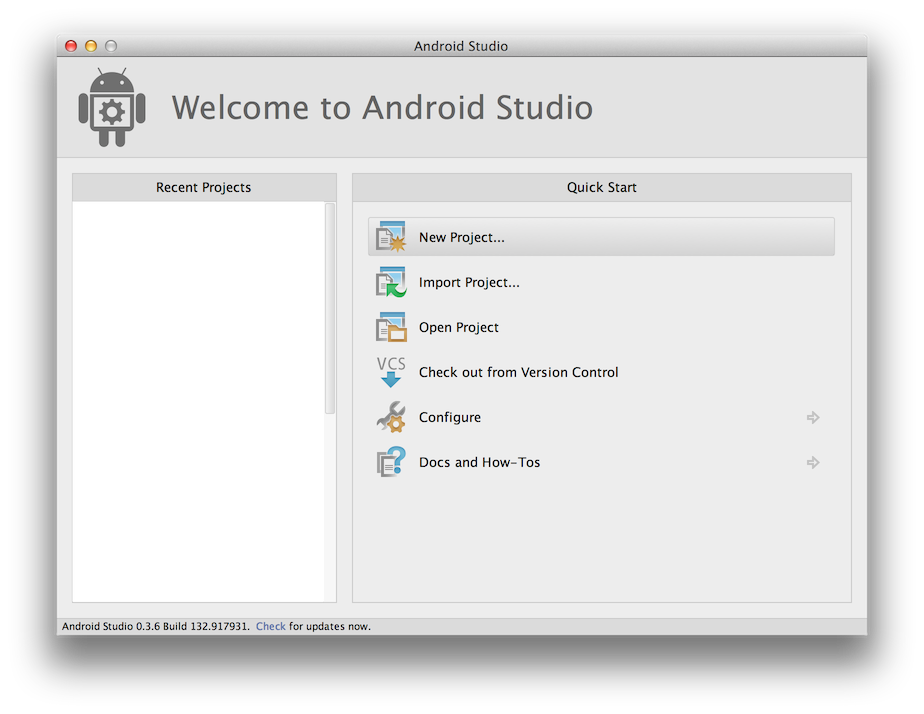
Once you have opened some projects in Android Studio you’ll have quick access to them in the left hand pane here, but for now we’re just going to click “New Project”.
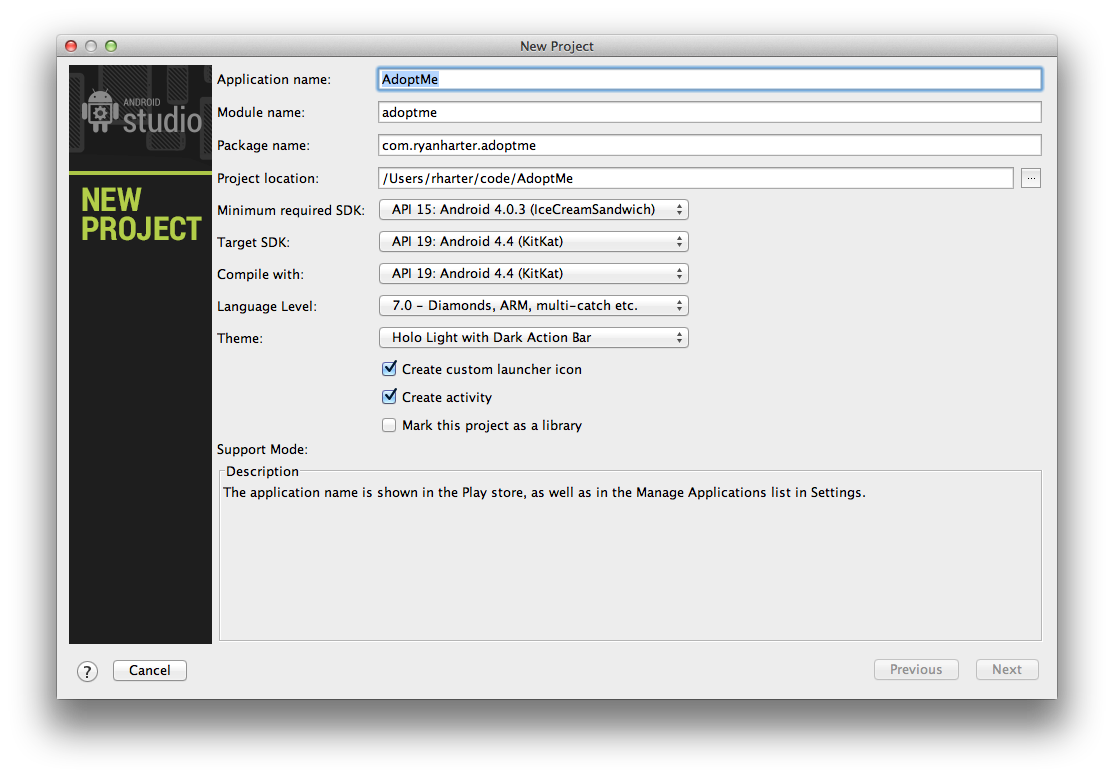
Now you should see a default New Project screen. Here we set all of the basic settings for our new project so that Android Studio can generate the appropriate file structure and build files. Lets run through this screen one piece at a time.
-
Application Name
This is the Application Name as it will be shown in the Play Store, and on your app’s launcher icon on your device.
-
Module Name
This is the name of the module in Android Studio. It’s not overly important at this point, as it only defines how you reference this project in Android Studio. When we have multiple modules (like libraries) in a single project is when it matters.
-
Package Name
The Package Name is a unique identifier for your app, but users will generally never see this. The convention here is to use a reverse domain name, which you can see I do. Keep in mind, this is how Android determines if two apks are the “same app”, so this must be unique and can never change for the life of your app.
-
Project Location
This one is pretty self explainatory. Pick a folder here where you want your project to be stored. I put a
codefolder in my home directory where all of my projects go. -
Minimum required SDK
This is an important one, as it defines the minimum Android version that your app will run on. Generally, I like to check the Android Distribution Dashboards to see what the current version distribution is when I’m starting my project.
This is a common topic of discussion, with 8 being the old standard. Now that ICS+ has almost 75% of the market, many people are moving to minimum SDK version of 14 (ICS), though we can see that SDK version 14 doesn’t even make the dashboard, so we can safely move to API 15.
This is important because you can only safely use Android features from your minimum version and above. You can use newer features, but you have to check the OS version each time to make sure you aren’t trying to call methods on a system that doesn’t have them.
-
Target SDK
This tells Android which version of Android you are targeting, and doesn’t have many immediately visible effects. The general rule here is to have the Target SDK be the latest version of Android you know about at development time.
Android uses this to determine what compatibility features are required. For instance, prior to SDK 14 (ICS) all Android devices were required to have a hardware menu button. Many apps relied on this for certain functionality, so on devices running ICS or higher, if your app has a target SDK below 14, your app will display a compatibility menu (three little dots in the navigation bar).
I, personally, hate seeing an app that displays the compatibility menu as it screams “I’M A DEVELOPER WHO DOESN’T KNOW OR CARE ABOUT ANDROID!”.
-
Compile with
This is the SDK version that will be used to compile your app. Like the Target SDK, you generally choose the latest SDK version available so that you have all of the latest APIs available.
-
Language Level
This tell the code completion and verifier what Java language level you want to develop at. The value here is dependent on your Compile with options, but as of SDK 19 you can use 7.0 which gives you diamond initializers and multi-catch statements, among other niceties. Note that unless your minimum SDK is version 19 you can’t use try-with-resources
-
Theme
This one should be pretty self explainatory, as it lets you choose the base theme for your app. This is entirely dependent on your app design. You can read more about app themes in the Styles and Themes guide.
-
Create custom launcher icon and Create activity
These ones do just what they say. I tend to leave them checked, and we will definitely use the auto created sample activity from this, so make sure that one is checked.
-
Mark this project as a library
If we were making an Android library, we would check this, but for this project we’ll leave this unchecked.
Project Templates⌗
One of the advantages of using an IDE like Android Studio is support for project templates. This is a great way to get started with the foundation of an app that follows a common paradigm, like Master/Detail flow. As you get more advanced you’ll probably skip over this section, but it’s nice when you’re starting out.
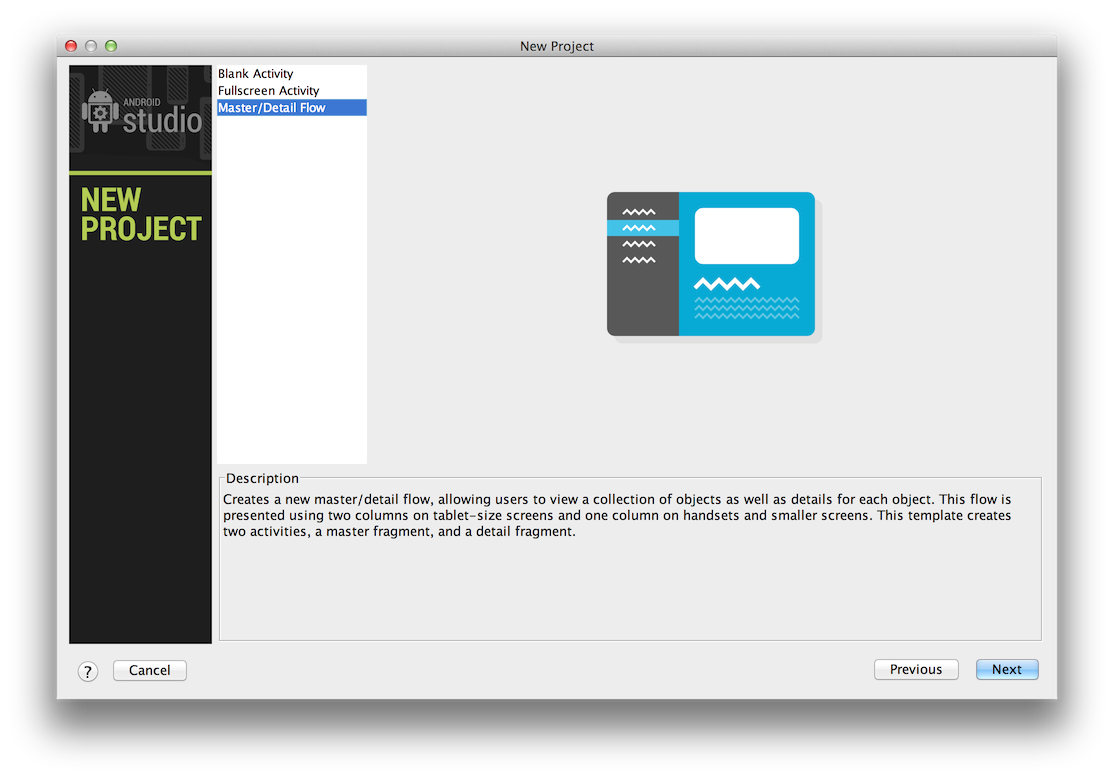
In our case, the app we’re creating using a Master/Detail flow, since we will be showing a list of items (the available pets) and navigating into a detail view for a selected pet. Select Master/Detail Flow and move on.
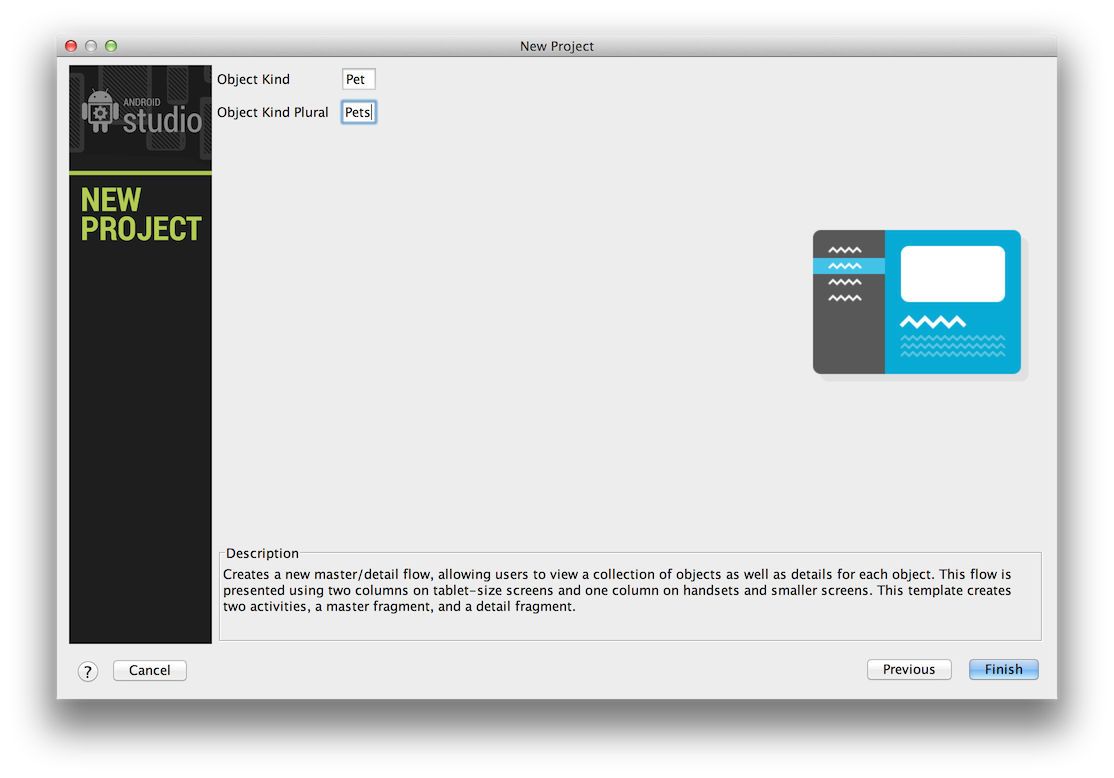
The Master/Detail Flow template required just a little bit more information about our project so we can get started, so we’ll type in our Object kinds here.
Notice that Android Studio gives you a nice description at the bottom of the screen telling you about each section of the process. If you ever have questions, be sure to look for the tools advice. This applies to Android Studio, the compiler, and device logs, etc.
The Code View⌗
After you click Finish on the project creation dialog, you are presented with the main interface of Android Studio. This is where you will do the majority of your work in Android Studio, so you should be familiar with it’s componenets.
Project Structure⌗
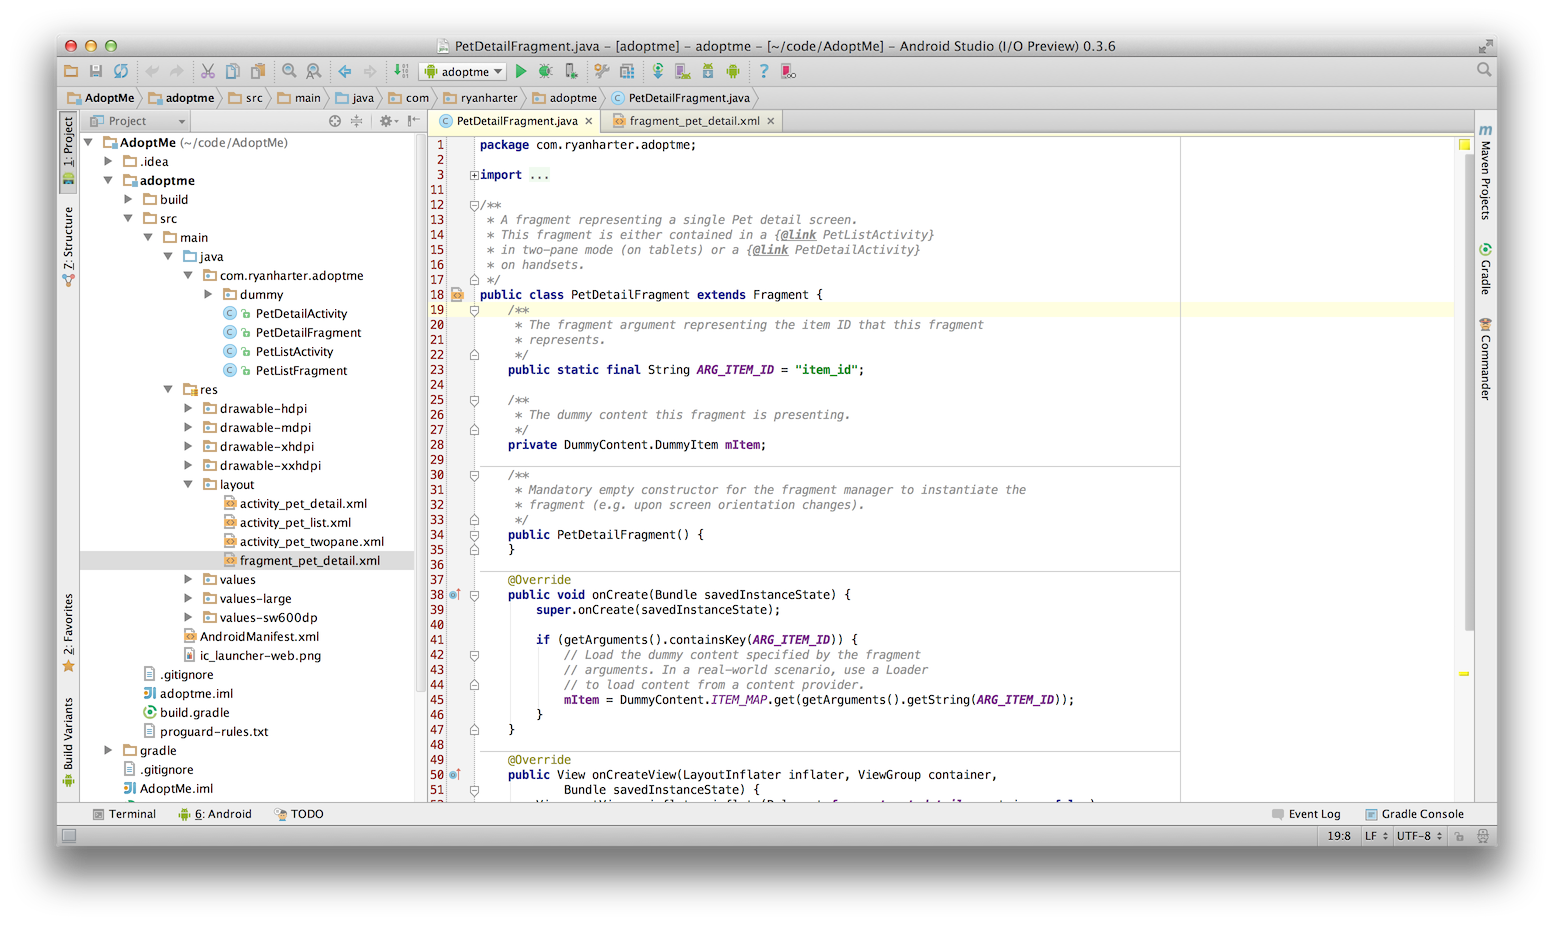
On the left you have the project view. This is the file structure of your app, nicely annotated to make identification of components easier. The Java code you’ll be working with lives in the adoptme/src/main/java directory and the resources like layout files, drawable assets, etc. live in adoptme/src/main/res.
Code View⌗
The right hand pane is the code view. Select a file and this is where your code shows up. The rest about this view is pretty self explainatory.
Run Controls⌗
At the top of the screen you will see several buttons, including a play button and a little bug. These allow you to run and debug your app, respectively. For now, this is all you need for your app.
Bottom Tabs⌗
Across the bottom of the screen you will see a few tabs, depending on what you are doing at the time. For instance, clicking the Android tab will expand the device logs, allowing you to see what’s going on in you app.
Running the App⌗
Before we dive into code, lets take a look at what we’ve created. To run the app, you will need to either have a Genymotion emulator running, or a device plugged in that has developer mode enabled. Click on the Run button ( ) and wait for this dialog.
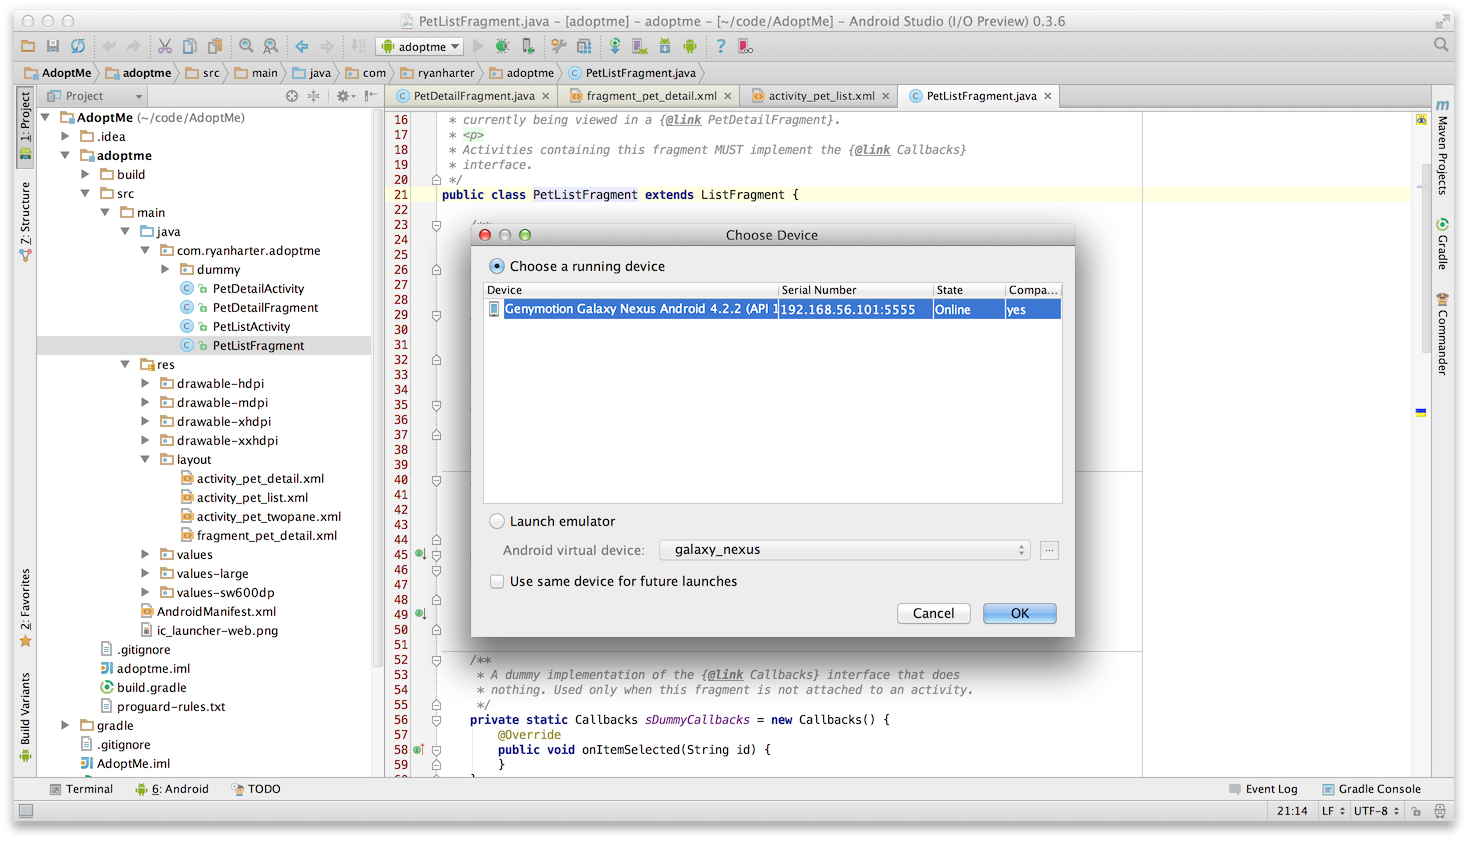
Just make sure “Choose a running device” is selected, and your preferred device/emulator is highlighted, then click OK.
One of the neat things about this dialog is that you can select more than one device and your app will be run simulataneously on all of them.
You will then see your app running on your device or emulator. The app launches to the list screen, allowing you to click on an item and view the detail screen.
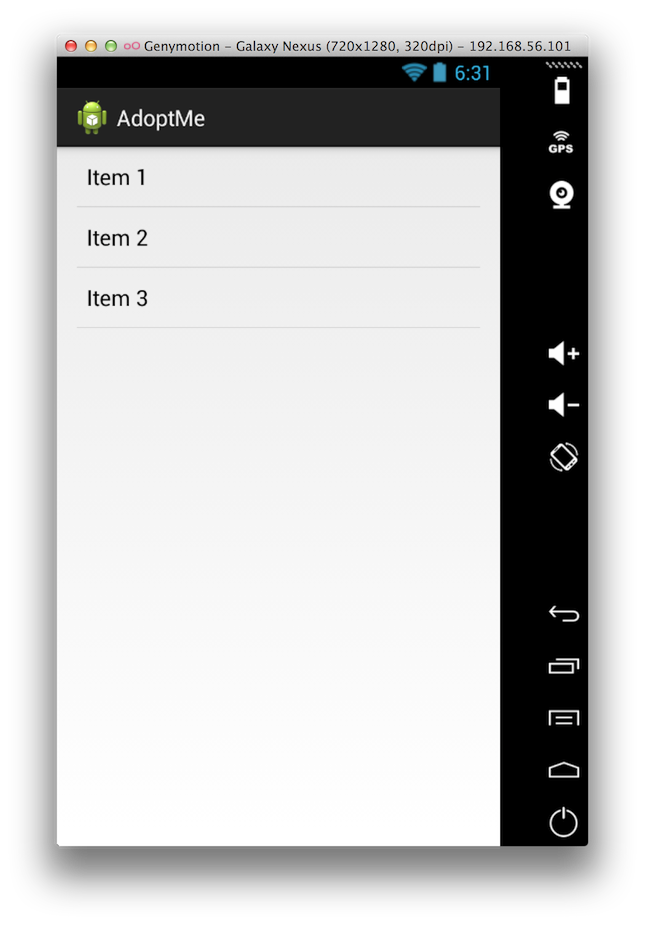
While this all may seem very basic right now, consider what we have done. Without writing any code, you’ve made your first Android app. While it is basic, it already presents the basis of our final app, including a list view that navigates into a detail view.
In the next post we will dive into the code that drives this list, the Adapter, and style our list. But before we do, there is one last step.
Commiting our Changes⌗
In the last post I talked about the importance of version control. The last step, now that we have our basic project created, is to commit that project to version control.
This is a simple operation that we will do at the command line. Simple open your command line (Terminal on a Mac) and navigate to your project directory. Alternatively, you can use the terminal tab at the bottom of your Android Studio window. Then simply run the following git commands to initialize and commit your code.
$ git init
Initialized empty Git repository in /Users/rharter/code/AdoptMe/.git/
$ git add .
$ git commit -m 'Initial Project Creation'
The first line of this command initializes a Git repository for our project. The second adds our files, and the third commits them with the comment ‘Initial Project Creation’. That’s all we need to do at this point to have our code saved and tracked in Git.
Up Next⌗
In this post we created a basic Android project that will serve as the basis of our Adopt Me app. Next time we’ll dive into the code to learn about the mechanisms for driving a list view, and see how to make custom layouts in Android. Feel free to explore the code we have now.
As always, leave any questions or comments below, and sign up to receive emails when new posts are available.